Foreword
I’ve made this blog quite for quite sometime, following the trend of blogging about tech, daily life style in Japan between my uni friends. Yet, i’ve never actually contributed anything to this blog, or anywhere else. Part of me think it was due to the inability to express myself to others, as well as inexperience in any area of knowledge. But deep down inside i know it’s just an excuse for my laziness, and the ignorance of it was the same as letting go of a oppurtunity for improving myself.
So no longer, from today onward, i’ll force myself to write, no matter how shallowed and foolish the content it maybe, no matter how crappy my English may sound like, i’ll write, and improve upon.
Thus, begin the first post on this blog. How this site was made.
Installing Hexo
First, i checked the list of prerequisite preparation
- a Mac or Linux Operating System, with an Unix shell
- node.js
- Git
After that, installed hexo comand line interface
1 | npm install -g hexo-cli |
Created blog project folder
1 | $ hexo init thelondev |
After the installation was finished, deployed the hexo blog with
1 | hexo server |
Woala!
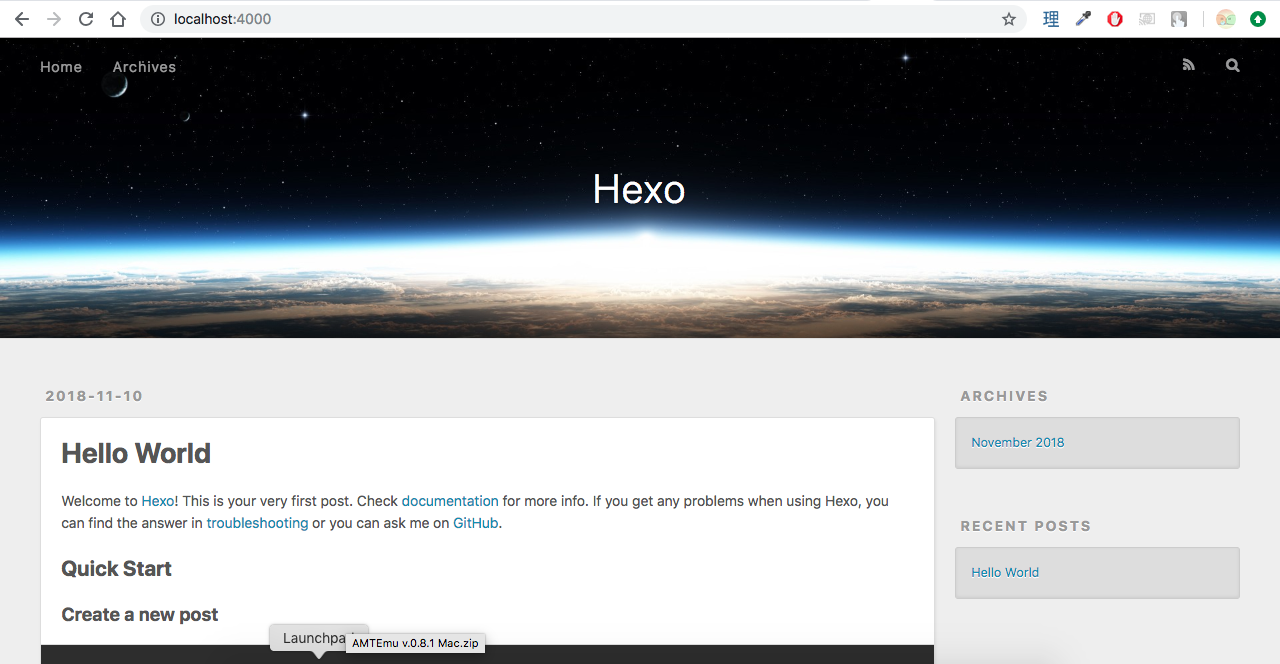
After this step, it’s possible to start writing.
But wait, that was all of it
Having a default blog is nice and all, but it would be boring and would’t define what thelonedev is.
So it was time for customization.
There are 2 approach to this. One can do it from scratch, customizing html, css, js and make their own ideal blog site.
The other is to use an already existed custom theme. I’m more of a lazy one, so i fell to this category, and NexT was my choice.
Installing NexT theme
Installation took place in project folder
1 | git clone https://github.com/theme-next/hexo-theme-next themes/next |
After i pulled next repo into my blog project folder, i changed the _config.yml file to switch to NexT theme.
Note: There are many other customization that can be made by changing _config.yml file such as site description, writting style, index, date&time format ….. although those won’t be covered in this blog post, it’s easy enough that i believe you can do it on your own and customize your site further more

After applied change to _config.yml file, i had to reboot hexo server in order for change to take place.
And it turned out quite nice.
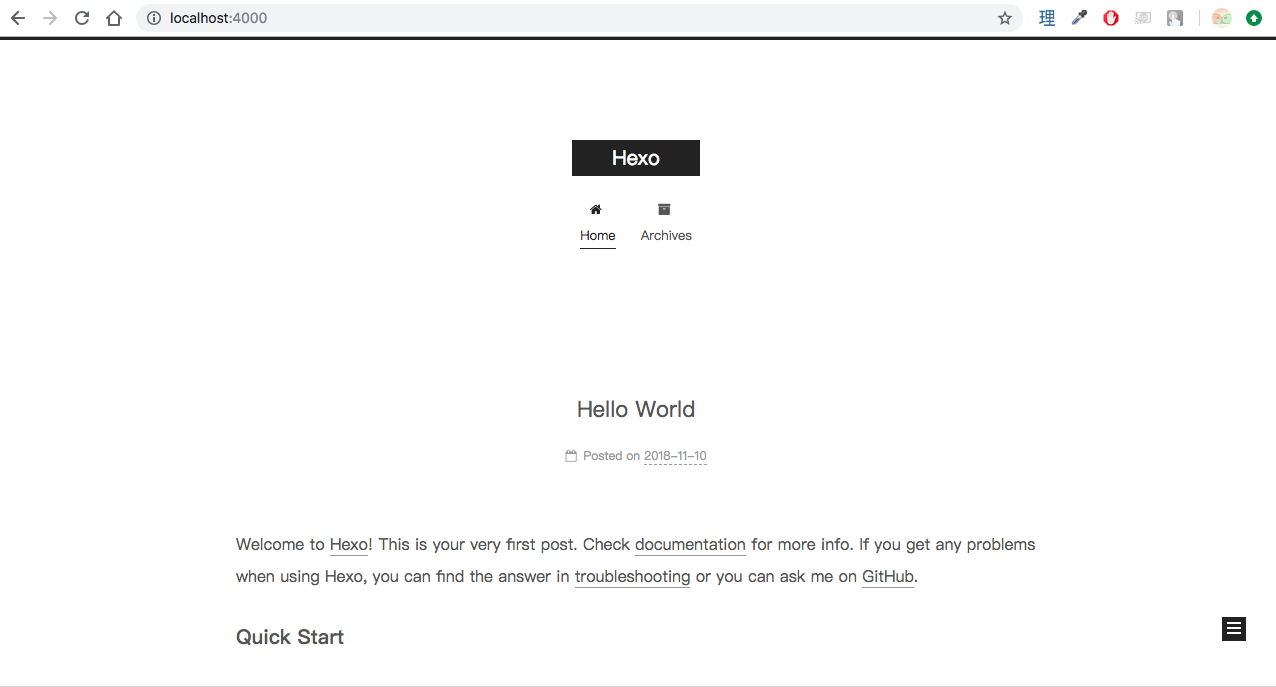
There are 4 different schemes that can be used in NexT theme: Muse, Mist, Pisces and Gemini.
My choice was Mist.
Changed the scheme option in themes/next/_config.yml by uncommenting Mist line
1 | # Schemes |
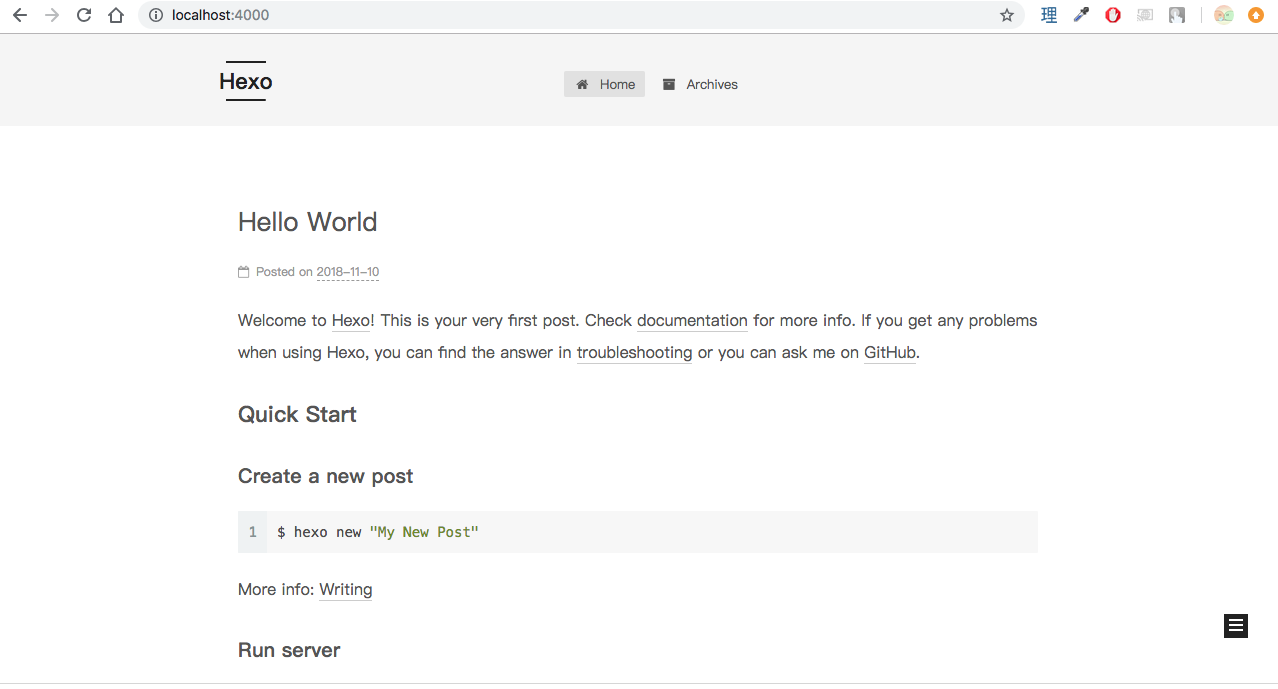
That was all what needed to create this blog. Though it would be meaningless if i can only run it locally.
So i had to deploy it to a Github Page.
Deploy
For all of those who’s unawared, Github allows you to host one of your site, on the domain username.github.io . All you need to do is create a new repository named username.github.io, push your site source code there and let Github take care of the rest.
More information regards this can be found in here.
Now, back to main topic, hexo provides a deploy method to github. First, install hexo-deployer-git
1 | $ npm install hexo-deployer-git --save |
Change deploy config in _config.yml

And enter below command
1 | hexo deploy |
Once i finished with above steps, thelonedev was available to access at whitewingedsoul.github.io
… though as you noticed, clicking on the above link redirected you to thelonedev.com. To use a custom domain with github page. You have to follow the below extra steps.
Custom domain
First thing first, this procedure will cost you money. So if you don’t mind using github subdomain for your site, you should stop here and start having fun with your own blog !
But, if you are determined to get your own brand, you have to purchase a domain. There are many domain registrars where you can purchase domain, notably Namecheap, GoDaddy, Google, Onamae… Their price don’t differ that much so just choose the one you like.
I chose Onamae to purchase thelonedev so i don’t have to deal with the hassle converting yen to foreign currency.
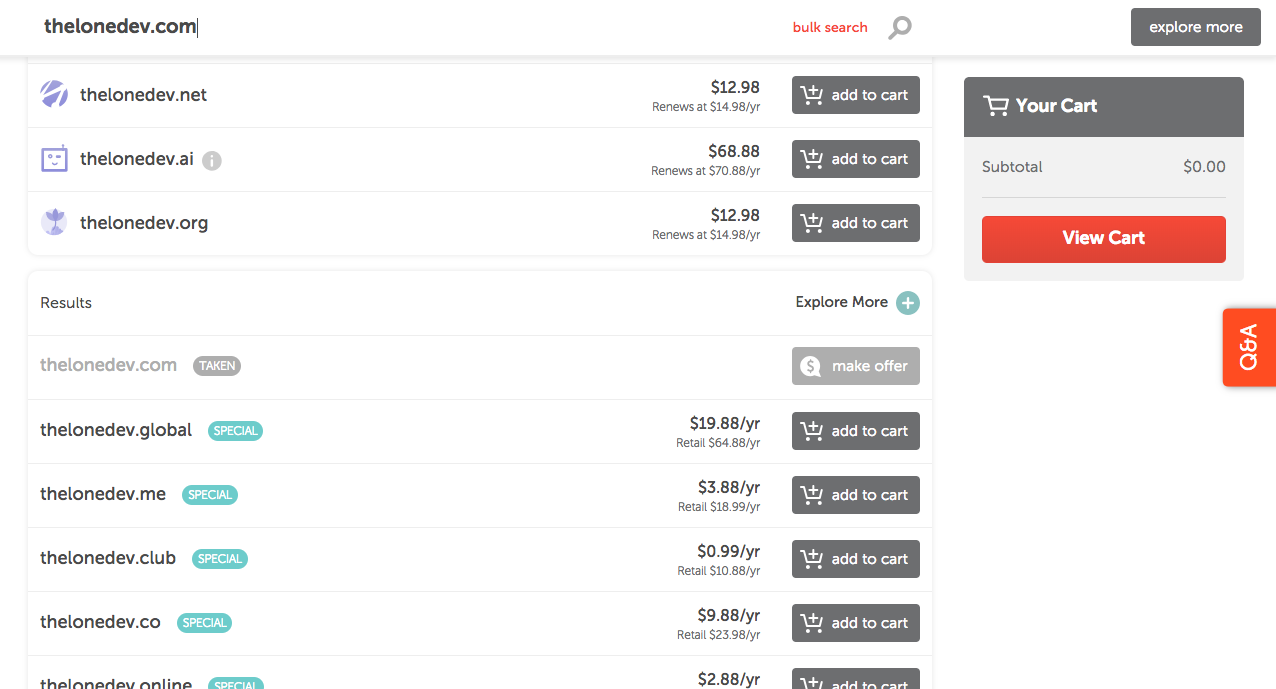
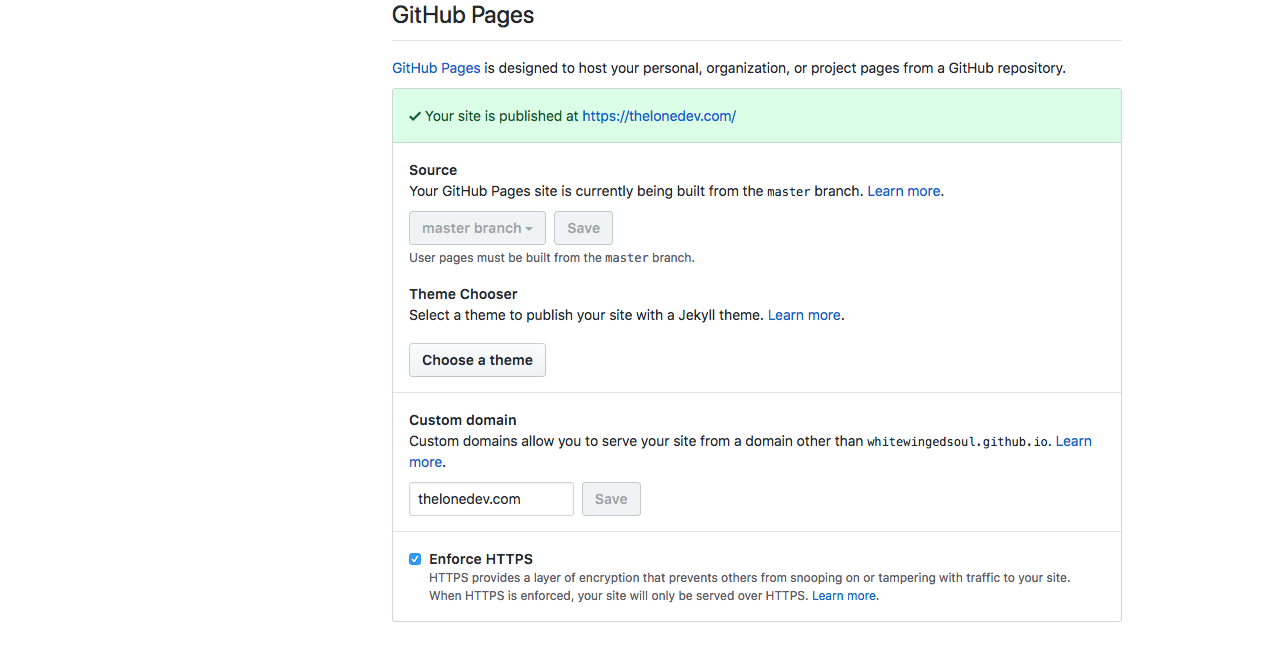
After i got my thelonedev.com domain ready, i added it to my Github Page setting.
Go to Your Project Name > Settings > Github Pages > Custom domain and add the custom domain you’ve purchased.
And finally, i went to onamae configuration page to set up my apex domain.
Created A records with following addresses
1 | 185.199.108.153 |

You may have to wait for at most 24 hours for DNS changes to take place.
And that was all it takes to make this website lives at thelonedev.com.
I hope this has been helpful to spark up your writting journey.